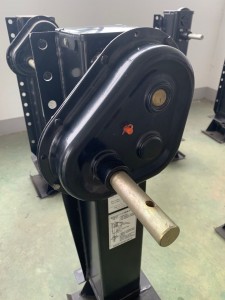
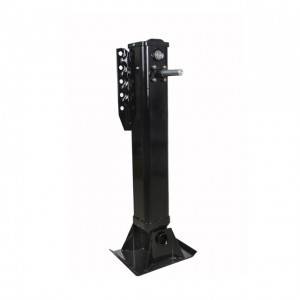
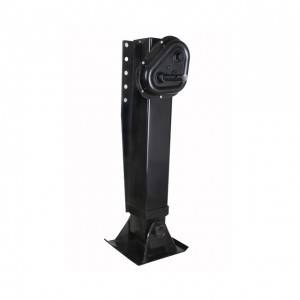
SAF HOLLAND LANDING GEAR ATLAS FACTORY PRICE
- Component Strength Test: PASS (Load is 1.5 times lifting capacity load, any parts without failure after lifting travel 3”)
- Drop Test: PASS (Load is 0.5 times the total weight of the vehicle distance asphalt from 3” to 3.5” height, free drop 10 times without damage.)
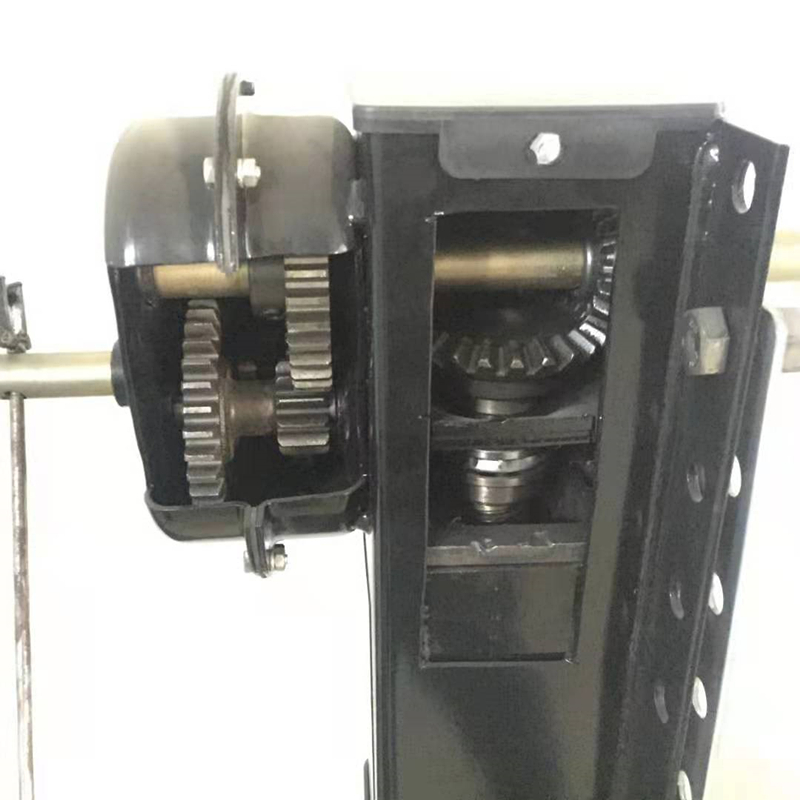
Gearbox Inspection and Disassembly
Note: This article is taken from SAF HOLLAND brochure.
- Remove any paint and/or dirt from the shafts protruding from the gear box. A strip of emery paper or wire brush should be used to remove any debris build-up on the shafts.
Remove any Burr that may be present on cross drilled holes.
- Apply a light coat of oil or grease to the cleaned shafts.
- Remove and retain the seven self-tapping screws that hold the two gearbox halves together.
- Insert a pry bar or similar strength device between the inner and outer gearbox covers at any point on the gearbox perimeter until separation is visible.
- With the first pry bar in position, insert a second pry bar approximately 180 degrees from the first.
- Using both pry bars, separate the inner and outer covers.
- Remove the outer cover outward and evenly to ease in sliding over the shafts. Push the end of the shaft and rock the cover slightly to aid in removal.
- The shift shaft and input gears may move with the cover. During removal of the cover the idler gear of the Atlas or CMS3 will come loose. Remove the idler gear to prevent it from falling out once the inner and outer covers are far enough apart. Note: If the idler gear falls out, closely inspect the gear for any visible damage. Replace if necessary.
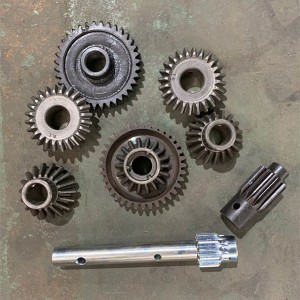
- Once the cover is removed, the shift shaft, and the low and high input gears may be removed. Make sure to note the order the gears are removed for reassembly. Remove all gears from the shaft.
- Use a wire brush to clean and remove any debris from the inner bore of both gears and the exterior of the shaft
- Apply a coating of grease to the clean interior of the shafts. Slide the gears on the shafts in the same order.
- If the gears will NOT slide onto the shaft in the region of the pin, replace the shaft, pin, and both gears. Refer to us to identify the correct parts.
- Install the pin in the shaft. Apply a light coat of oil or grease to the exterior of the shaft and interior of the gears and slide the gears on the shaft.
Gearbox Reassembly
- Check inner and outer cover of the gearbox for damage. Repair or replace if damage is excessive. Remove any sealant from cover bolting flanges.
- Assemble the shaft (if removed) and gears to the inside of the inner gearbox cover. Be sure to assemble the gears in the reverse order in which they were removed. NOTE: If the gears are not assembled correctly, the outer gearbox cover will not align properly with the inner cover.
- Apply a light coating of oil or grease to the shafts. Install the gasket, Use three or more of the self tapping cover screws to hold in place for installation.
- Slide the outer cover over the shafts evenly.
- Install the remaining self-tapping screws to attach the gearbox covers together. The screw should be tightened to 65-90 in .-lbs. (7-10N.M)
- For optimum performance add one-half pound of SAF-HOLLAND True Lube grease through the grease fitting in the outer gearbox cover. NOTE: Do not use grease with moly or Teflon additives.
Write your message here and send it to us
